|
|
|
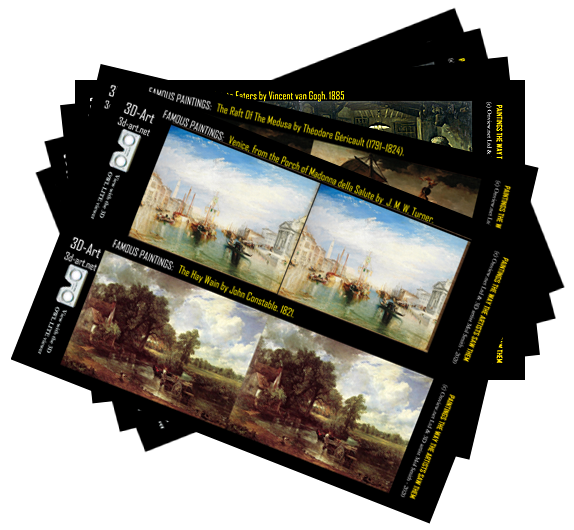
3d-art.net
About Our Stereo Cards
|
|
|
|
|
| |
Our stereo cards are approx. 6x4 inch silver halide glossy photo-cards. Two pairs of stereo images are printed on each sheet. These are very high resolution. prints. Our limited edition hand produced sets where we decide to cover some subjects that way are printed by dye sub-limination which produces a similar photgraphic card.
|
|
|
|
| |
Turning 2D into 3D |
|
| |
Most of the images in our products started out as plain 2D images. The various subjects were never photographed with a 3D camera. The process of creating 3D stereo images from the original picture is complicated and requires the use of non-machine skills by an artist to create a depth-map grey scale image before subjecting the colour image and the depth-map image to a software program which then creates a series of images. The first and last image are subsequently
used to combine into either an anaglyph stereo pair or a red/cyan stereo picture. The following describes the process in step-by-step detail used restoring an early Victorian 'naughty' picture into a printable, repaired quality image in 3D.
|
|
| |
Step 1: Sourcing the original image
|
|
| |
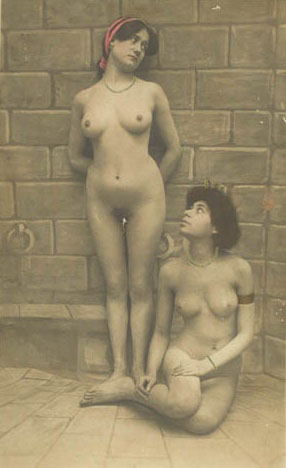
Various resource exist on the internet to obtain poor quality images in low pixel resolution. Images from such a source are constructed at a resolution of 72 DPI. (Dots per Inch). If an image is to be used, I normally contact the site owner (if there is one) and negotiate permissions to use the image. This will almost always involve a small payment to them. The original image is downloaded and saved as a .TIF image file. No compression is used
and the .TIF format ensures there is no further degrading of the image resolution, which can happen if one repetitively saves in lossy .JPG image format. The original image, untouched is below left, half the size it existed on the web site. To the right is the image blown up so one sees damage, fading, fuzzy edges of the figures, loss of details, and a lot of pixellation.
|
|
| |
 |
|
|
| |
If, say, the image above were to be printed as a good quality photograph, it would need to be in a resolution of at least 600 DPI, not 72 as it is here. This would reduce it to the size of a postage stamp, and we need it at 6 inches by 4 inches. I use a software plug-in for Adobe Photoshop called Genuine Fractals
- an older version than the one offered now under its new name: ON1 Resize. The plug in does a good job of enlarging the image using fractal technology to rebuild the image instead of simply just 'blowing-it-up' where is would be massively pixeallated and unusable.
|
|
| |
Step 2: Enlarging and restoring the image
|
|
| |
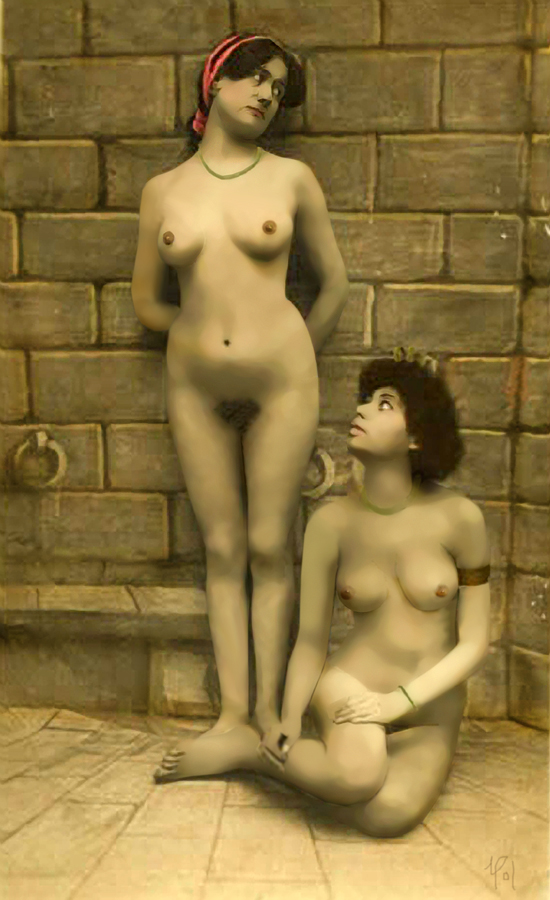
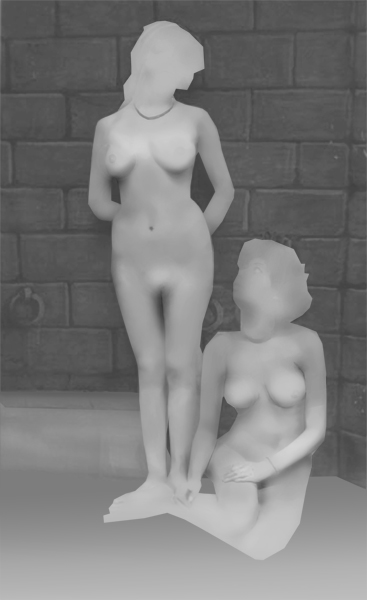
After enlargement and resaving as a 600 DPI .TIF image in Photoshop, I start to contrast, brighten, repair and build the image up again, adding detail where it is lost. The process is very involved and requires separating the figures into various parts: head, upper torso, lower torso, right arm, left arm, right leg, left leg, and then smoothing out and re-gaining each section. The filters and selection tools in Adobe Photoshop enable this. So, for
example, the section is 'feathered' by 2 pixels to avoid too-sharp edges, then the section is filtered with Noise/ Medium, which smooth's out the area and the tones in it, before adding a small amount of noise back in. Tiny details are repainted using the airbrush too. The pubic hair area in the Victorian Nudes is added using a pubic hair air brush and coaxed into place with distortion and Warp tools. Highlights are added with the airbrush, until finally, we have a high quality image like the one below but
in 600 dpi and 6x4 inches.
|
|
| |
 |
|
| |
You may wish to scroll up and down to compare it to the original above?
|
|
| |
|
|
| |
Step 3: False colouring the image
|
|
| |
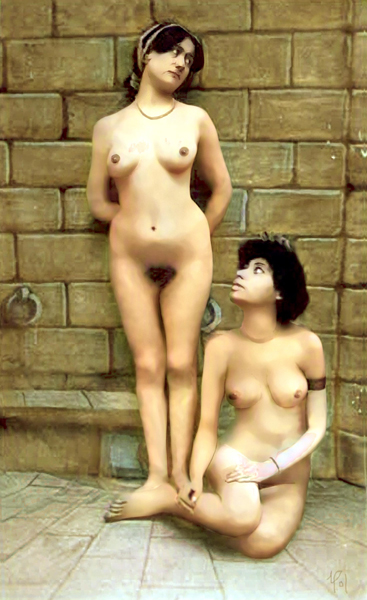
I decided on the 3rd Victorian Nude set to colour some if not all of the images. For this I use software purporting to use A.I. technology, which I will say on a personal note: there is no A.I. software in existence anywhere in 2022. The term is mis-used deliberately to describe rule-based software probably exploiting experienced-database methods to detect and colour/tint any given image. I spent many years in computer programming, so I say the aforementioned
as a result of knowledge and experience.
However, that said, the software does a pretty good job requiring only a little correction and re-colouring by me in Photoshop afterwards. The software I use to auto-colour the image is called: Pixbim Colour Surprise. The result of using it plus slight post-effect improvement by me is below.
|
|
| |
 |
|
| |
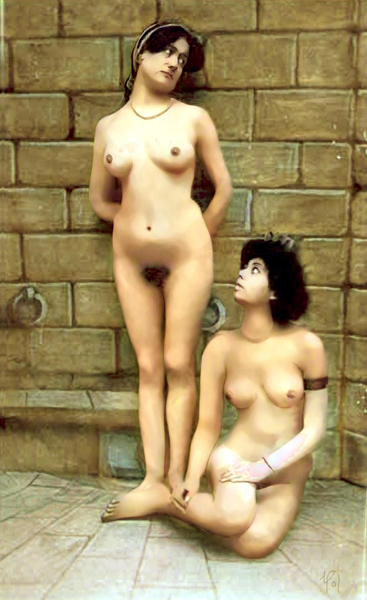
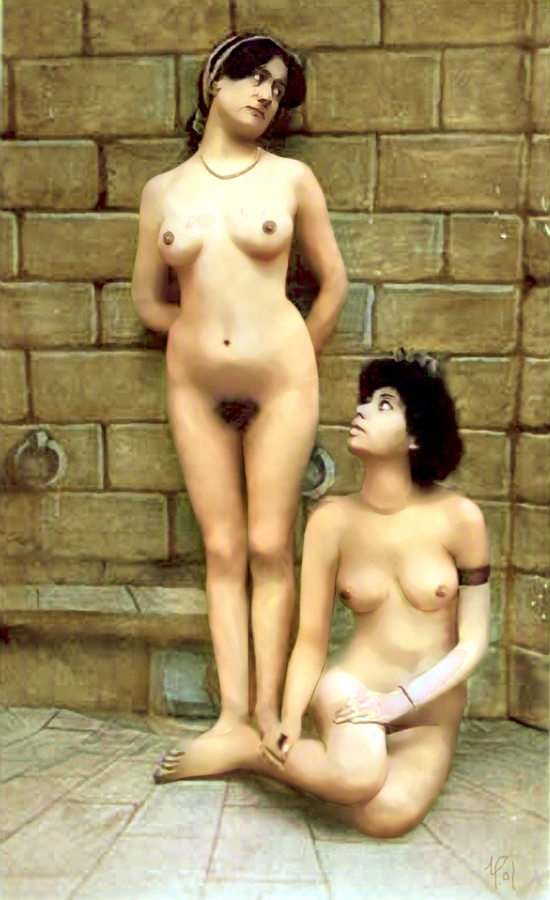
We now have a quality, proper resolved image to turn into 3D.
|
|
| |
Step 4: First part of creating a 3d image
|
|
| |
I use a piece of software developed by a Russian company which I highly recommend. It is called STEREO TRACER by Triaxes. It builds a stereo image by creating a final right hand image to go with say, the one above which
can then be treated as the left hand image (roughly explained). How does it do it? Well, the user, me in this case, needs to create a depth-map grey-scale image to inform the software what pixels to shift around to build the second image. A grey-scale depth map image is one where any artifact in the image takes on a whiter shade if you wish it to be at the front, and darker towards black to be placed in the rear. Full
details of Stereo Tracer's capability is here as a PDF file for you to see or/and download.
I use Photoshop to airbrush a copy of the image. Here is my one for the image above. Shown here smaller on the left below. In stereo tracer, I use a soft-edge grey-scale image so before using the grey-scale image, I subject it to a degree of 'Gausian blurring' in Photoshop. Below, right.
|
|
| |
 |
 |
|
|
|
| |
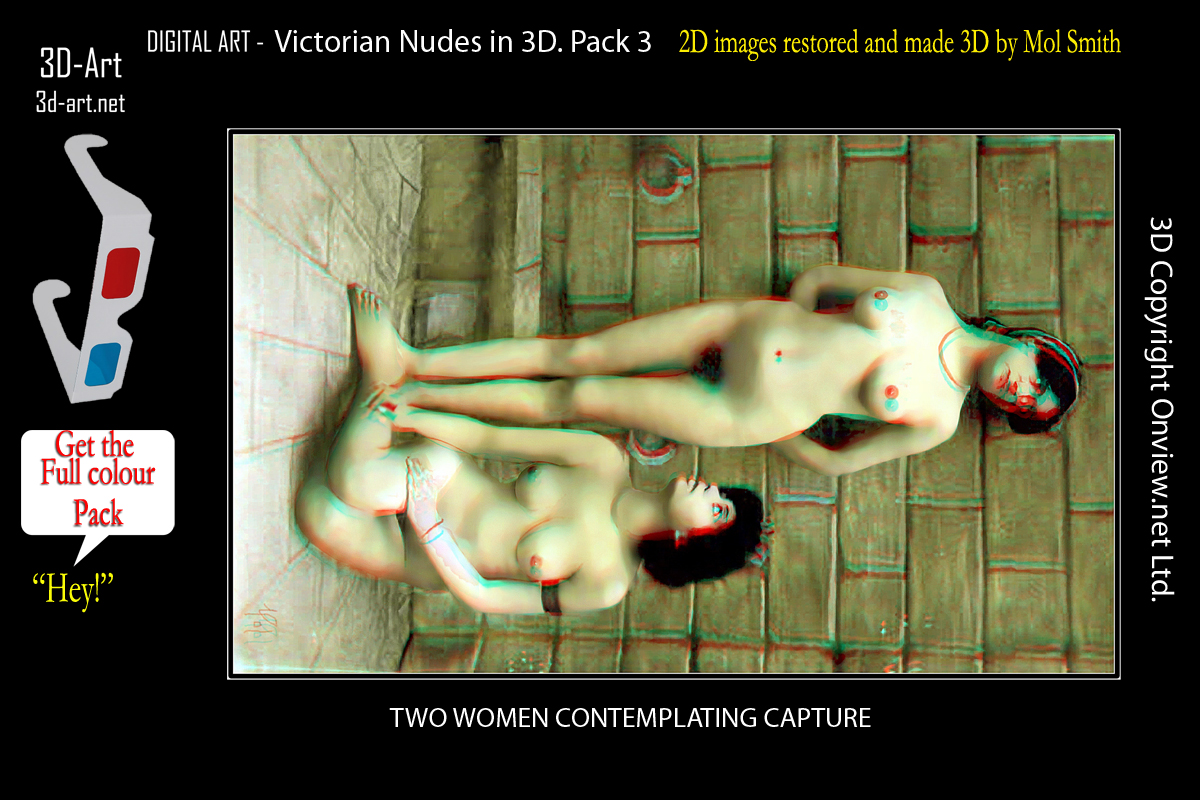
We now open Stereo Tracer and load the colour image and the grey sale image into its work space. By selecting a few values - parallax, how many frames to generate , and how much to create depth - we use the software to generate a set of frames. I normally use between 12 and 18 frames. A test window in Stereo Tracer presents the result and one can then re-adjust the values to get the best 3D output. Often, this means going back and improving the grey-scale image
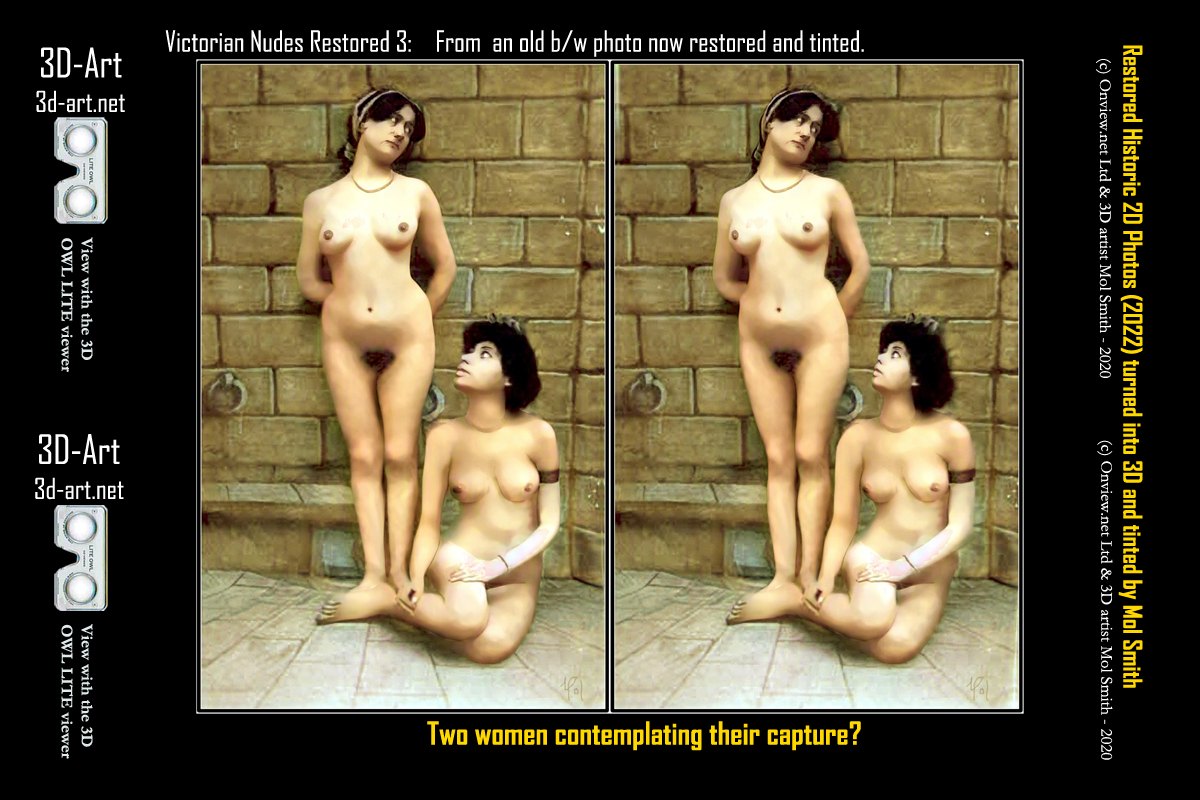
in Photoshop. Once one is happy with the final result, you can save the frames and/or generate a .gif animated image like the one below left (shown tiny here). I will now use the first and last images (below) in another piece of software to build a stereo anaglyph pair. But not before opening the left and right images again in Photoshop and resizing them back to 600 DPI and 6x4 inch .Tif imge files. You could use the two larger lower images for direct parallel viewing to see them in 3d or switch them over
(next row under) to see the £d in cross-eye viewing.
|
|
| |
Step 5: Second part of creating a 3D image.
A brilliant person on the other side of the world from the UK has been on the Internet nearly as long as I have. Anyone creating 3D stereo images will have been to his web site and used one or more of his software tools, all offered freely by their creator. I will use his STEREO PHOTO CREATOR to create final anaglyph and red/cyan stereo 3D images for my
card sets.
I can use the software to accurately create the twin pair or a red/cyan image and make final adjustments before saving the outputs as .Tif files, which once more are enlarged or checked to become suitable for a 600 dpi pair or combined (red/cyan) image on a card designed to be sent off over the internet as a .JPG file to a photo processing Lab. The cards are printed out using high quality colour photo printing to preserve colour and high resolution. See below - shown here at smaller sizes!
|
|